Sailboat Water Maker Installation and Laundry Room Conversion
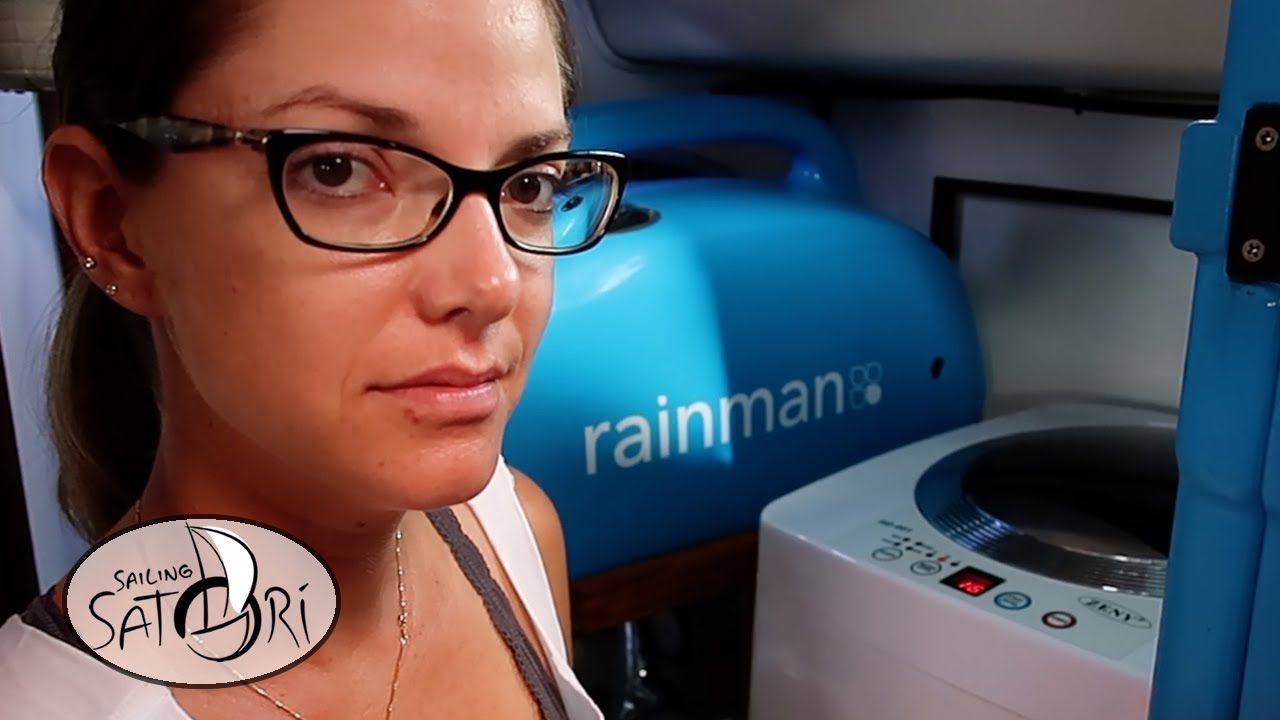
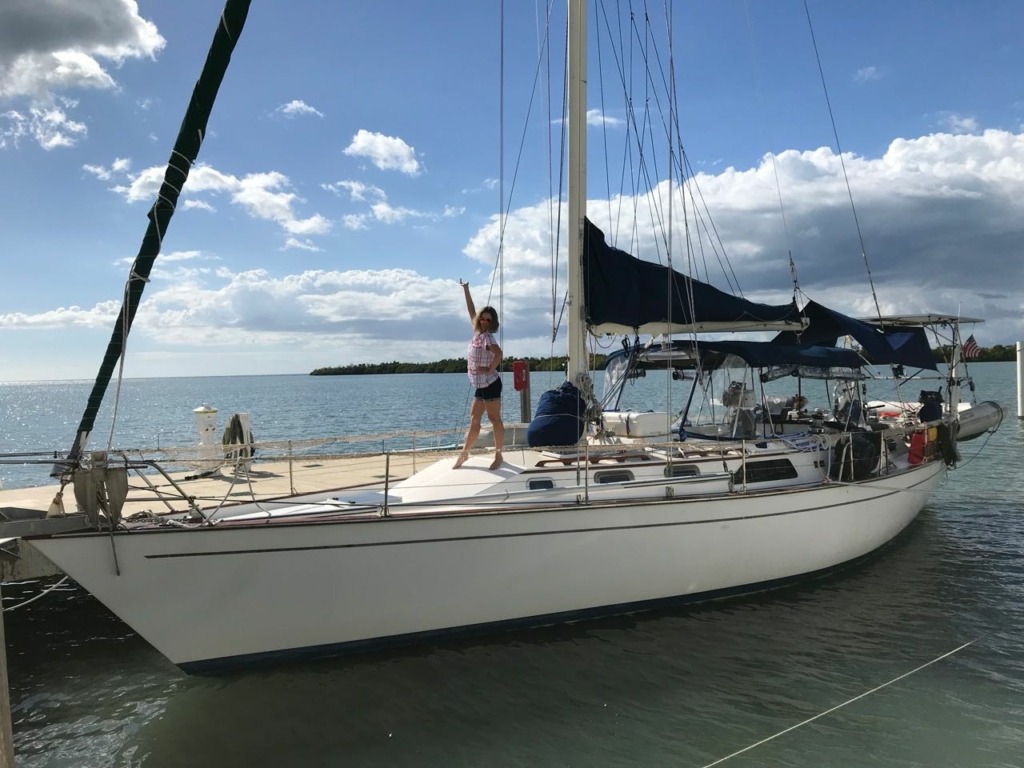
Our 44-foot sailboat, Satori, recently received a bathroom “make-over” of sorts. After receiving our brand new Rainman water maker (see review here), we wanted to make using it even more convenient. We also saw an opportunity to add a luxury item to the boat in the form of a washing machine.
This video and article outline the details of our guest bathroom conversion to a laundry room.
- Rainman Water Maker Installation on a Sailboat
- Rainman Water Maker modifications
- Installed Operation of the Rainman Water Maker
- Automatic Washing Machine installation and operation
When shopping for a boat, I knew I planned to be a full-time cruiser eventually. I had a mental checklist of all of the things I thought I would want for my cruising experience. I knew a water maker would be necessary, but I would have never thought it was possible to have a real washing machine onboard a sailboat.
Our sailboat Satori had a water maker installed when I bought her, but I didn’t use it for many years while I was at the dock in St. Petersburg. Once we set sail, I was so grateful to have it onboard. It took some work to get her up and running again, but it was worth it. We have never had to struggle with the chore of finding, or worse, paying for water while cruising. However, we do have friend boats that are always dealing with the burden of conserving, locating, paying, and hauling water every week. Watching them is stressful enough.
With our older 12V, low capacity, water maker (5-6 gallons per hour), we had to run it 2-3 hours every day to keep up with our water demands onboard the sailboat. I will admit, we are not very good at water conservation. But then, I never planned on being good at it. From day one, I wanted to make sure life onboard did not feel like camping.
I wasn’t long before the constant use of the old water maker began to be a burden in itself. The solar panels could not keep up with the demands of the water maker plus everything else onboard. We found ourselves running the generator quite often to make up the difference. This was when we decided to bring a Rainman onboard. If we were going to run the generator, I figured it was more efficient to make 36 gallons an hour while running the generator a few hours every few days than it was to run the generator 1-2 hours every night.
Click here to see our Review of the Rainman Water Maker
Watch Kelly do the Rainman 10-minute challenge Here:
Once we could make more water than we could use, faster than we could use it, it opened the door to that “never-thought-possible” option… an automatic washing machine!
The Rainman high output watermaker we chose costs about $5000. Rainman has a few variations and options available, including a “Naked” unit without a case. A lower output “Economy” version, as well as 12V DC, 115V AC, as well as a gas powered one. You can buy the Rainman in the US from SeaTask, the distributor out of Florida.

SATORI Rainman Special from SeaTask
SeaTask is offering a special deal for all of our Sailing Satori viewers. Buy any Rainman System, Get $100 worth of extras (TDS Meter, five spare filters, T-shirt, Thank You letter from Sailing Satori)
Use Promo Code “SATORI” at Checkout OR use this link: http://bit.ly/satori-rainman-deal
Creative Installation
These are the goals and criteria I had for the installation less than a standard installation.
Installation Criteria
- Maintain Portability – Rainman Watermakers are designed to be Portable)
- Non-invasive installation – I did not want to alter the boat or cut large holes
- Simple operation – Turnkey Operation with direct connections
- Bathroom to remain functional – Even if it meant the removal of equipment when guests are onboard.
Challenges
- It’s large and heavy
- Small/Unusual install location
- Access to Parts – Puerto Rico/Virgin Islands/limited Amazon delivery
- Time – possible re-work of plumbing connections in future (hurricane season)
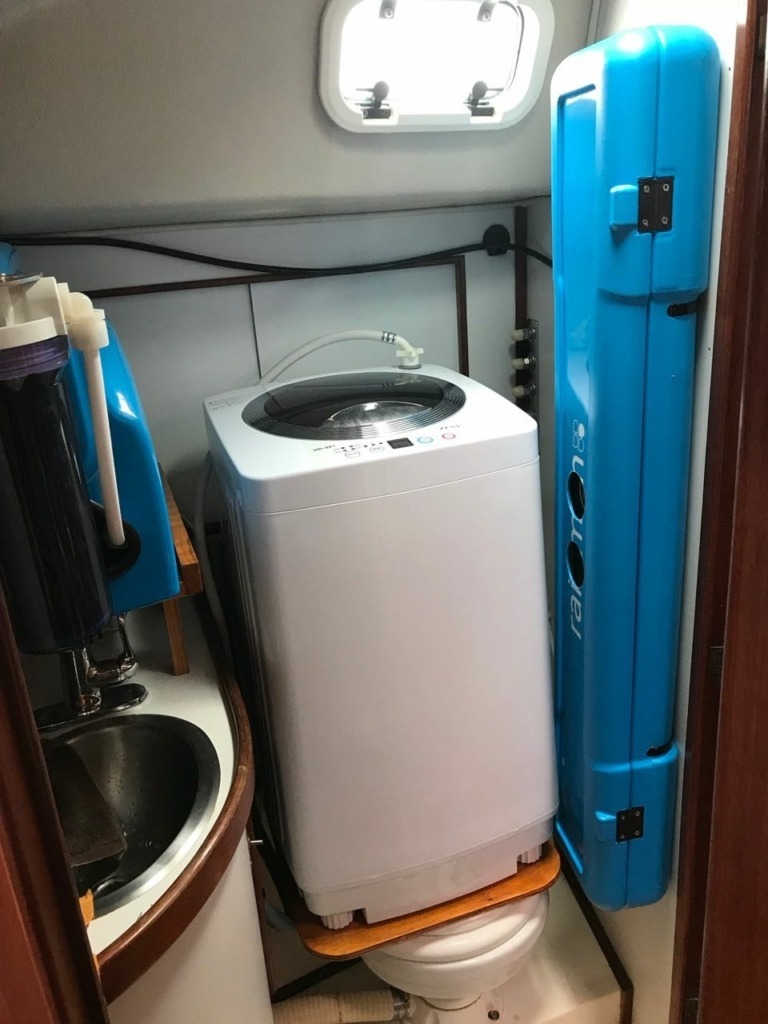
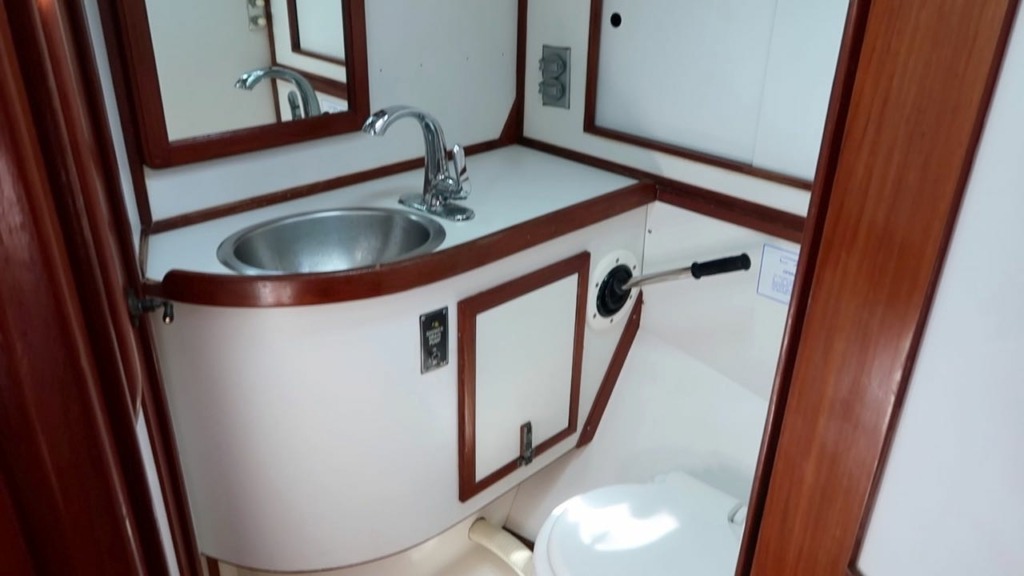
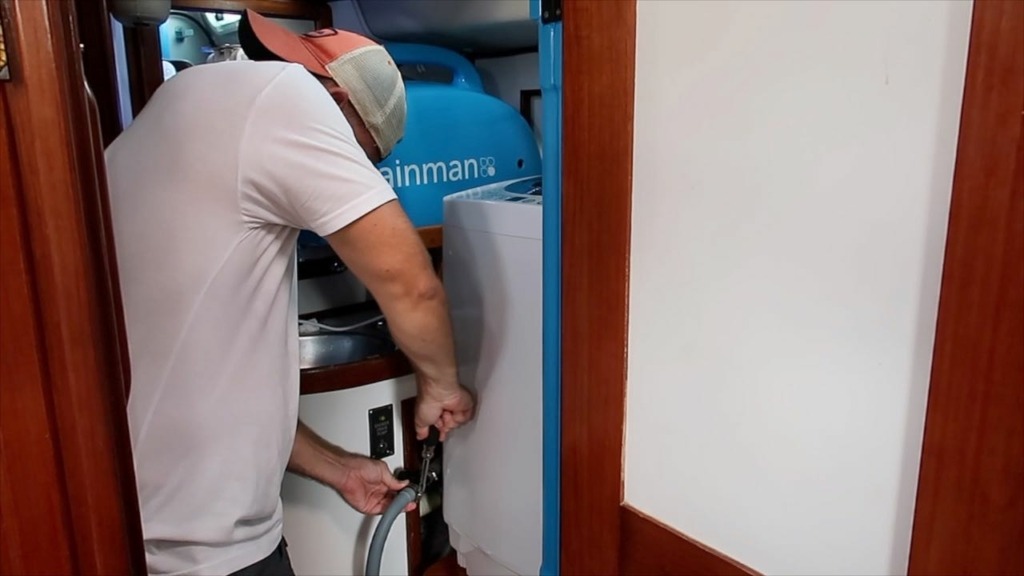
Because the forward guest head mainly remains unused, we decided to treat it as a utility room. Since we already store most of our cleaning products in here, it was a natural fit. Everything was installed so that each plumbing and electrical connection is easily accessible for disassembly and portability.
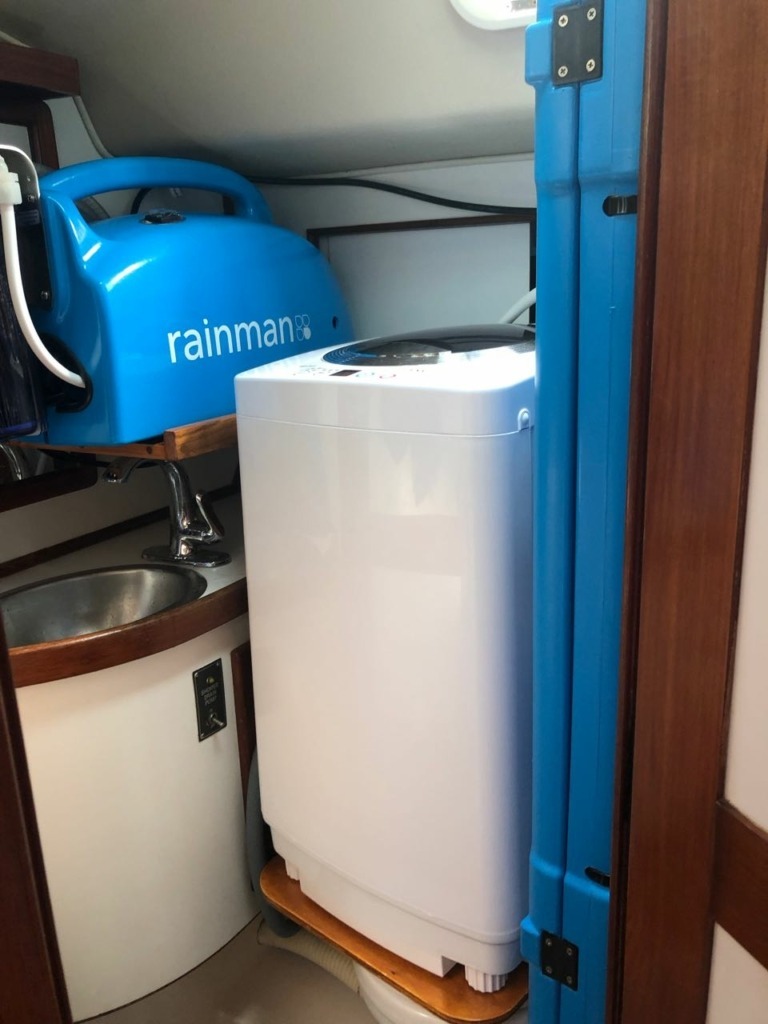
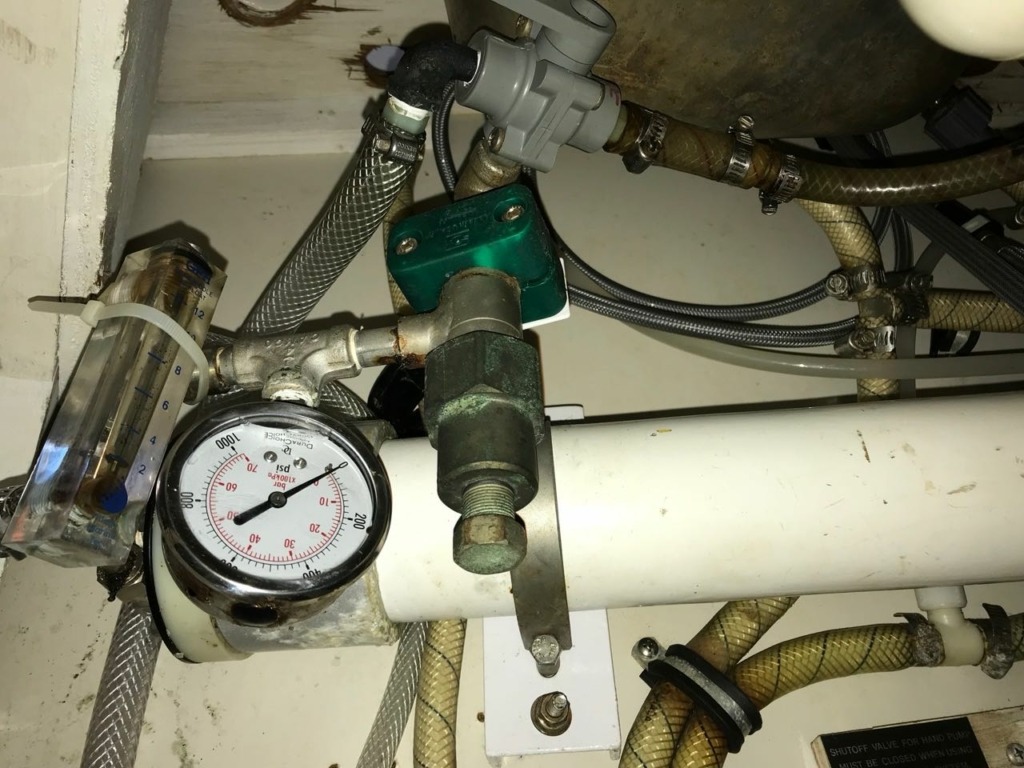
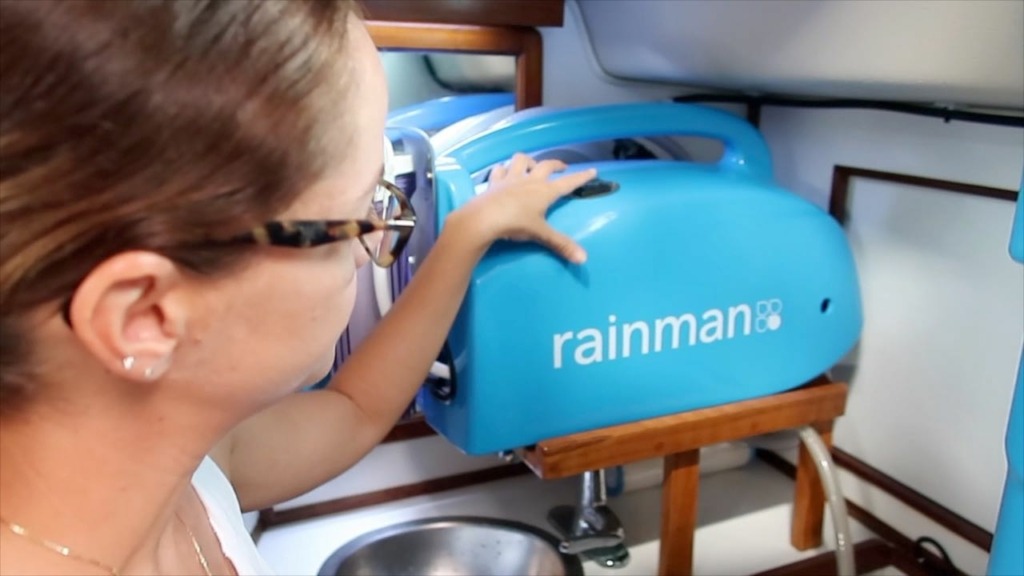
Pressure Unit
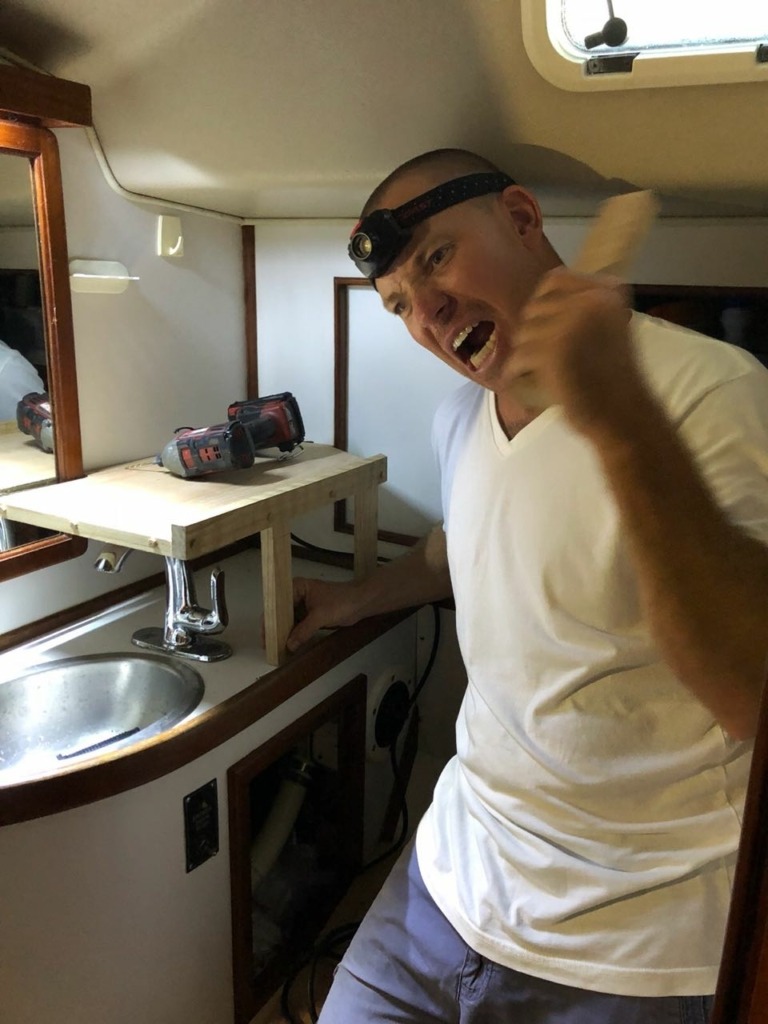
I built a custom shelf to install the pressure unit above the counter and sink. The shelf created a solid unobstructed base for the pressure unit, and also allowed the accessibility to the sink and faucet, cabinet, and 115V receptacle.

Membrane
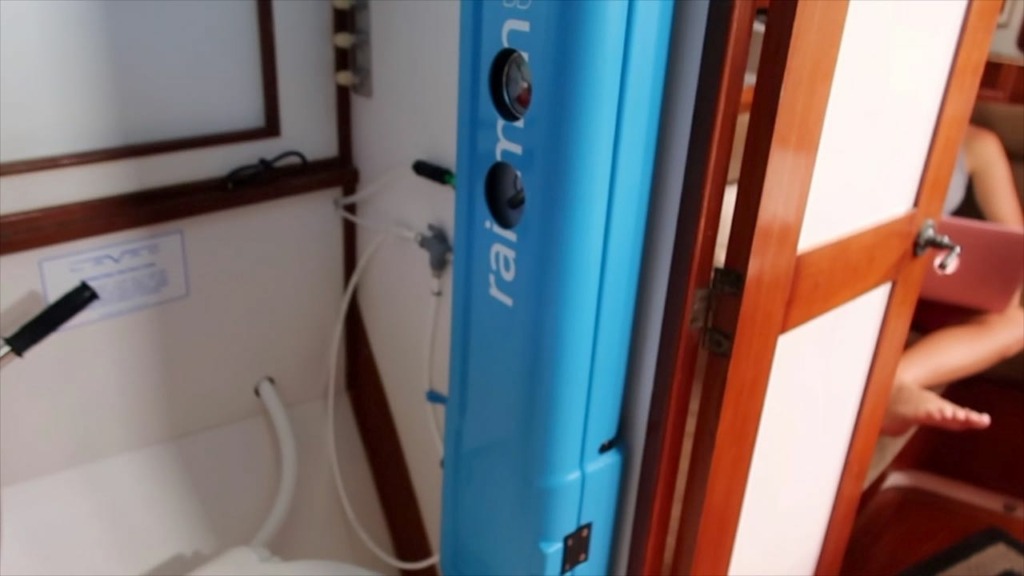
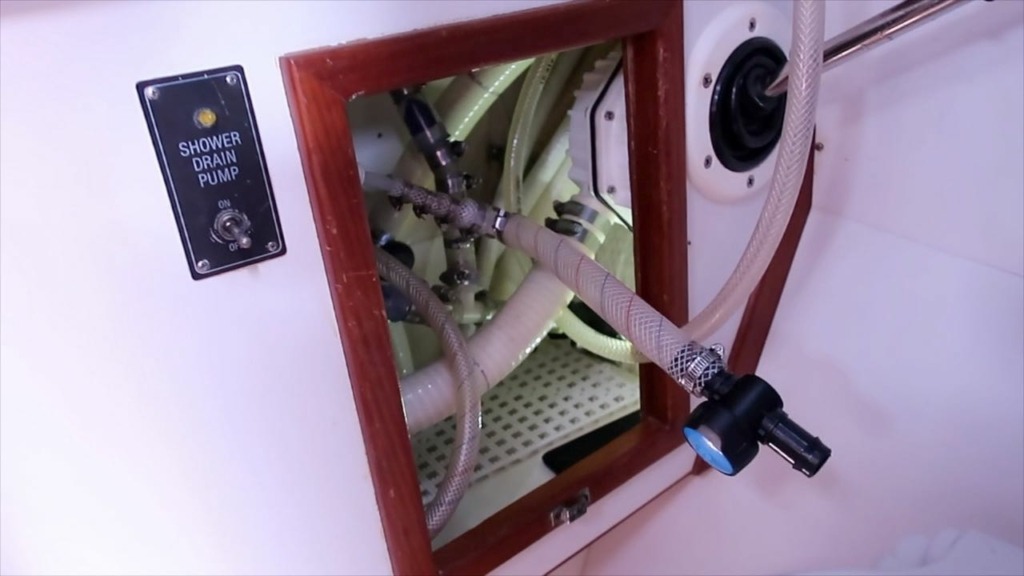
The membrane was mounted to the bulkhead/bathroom wall using the Rainman supplied mounting hardware. Because the case would be obstructed from being opened, I drilled 2.5″ access holes for the pressure control dial and pressure gauge. I also drilled holes for each of the three hoses exiting the case. The hole allows the hoses to exit and the case to stay closed. This way, the hoses to remain neat and organized.
Electrical Plug
Pressure unit is plugged into the 115V receptacle
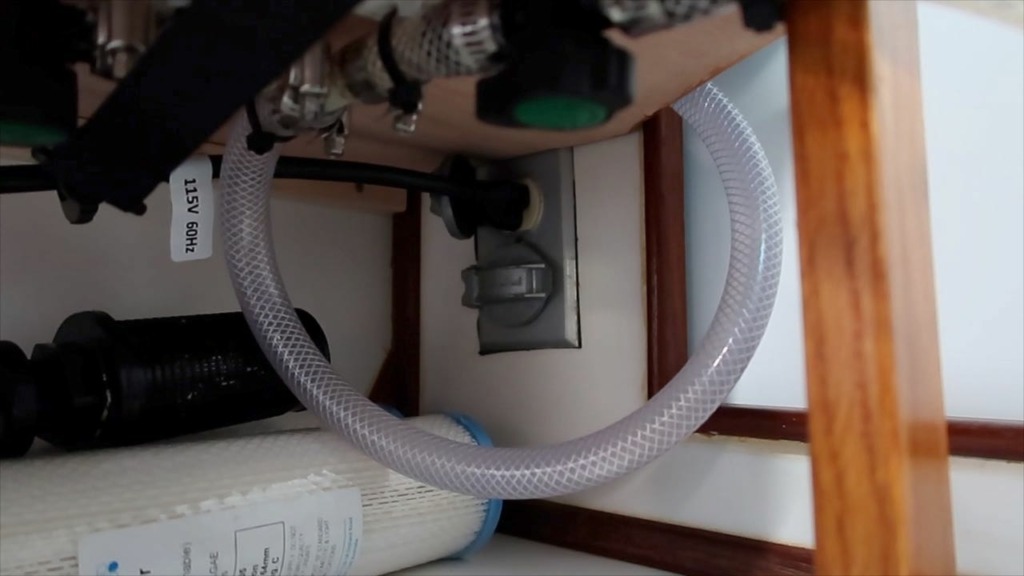
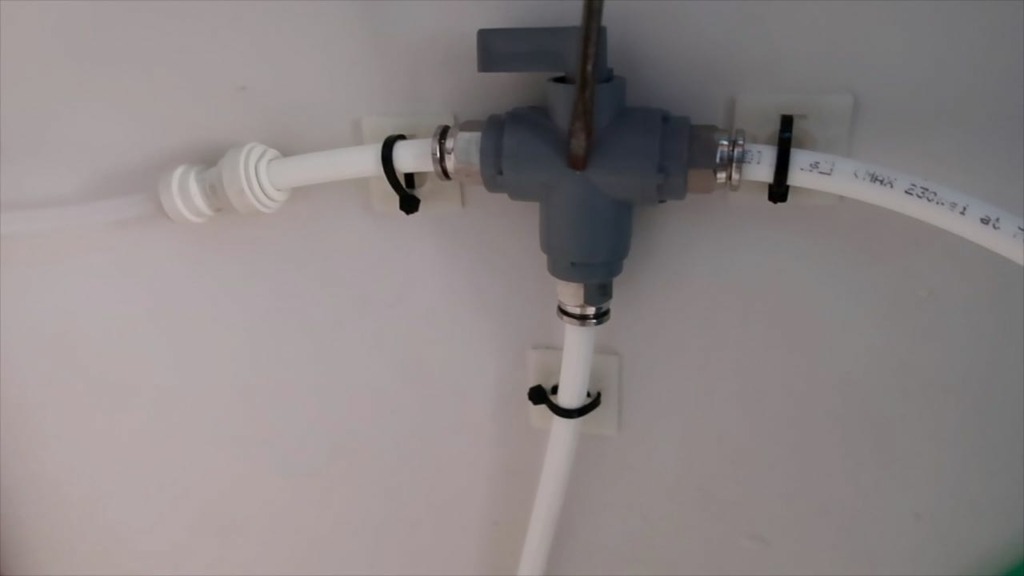
Intake Hose
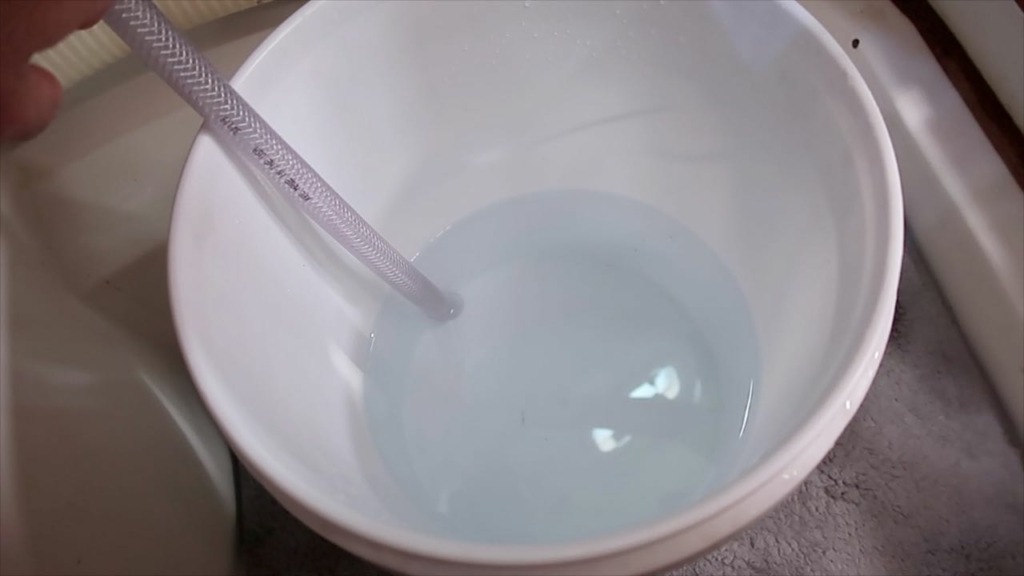
The intake hose tee’s into the head flush line with backflow preventers to control water flow. I made a homemade Y-valve to switch between pulling in seawater or from the freshwater rinse bucket. The native cam connection was utilized to maintain portability.
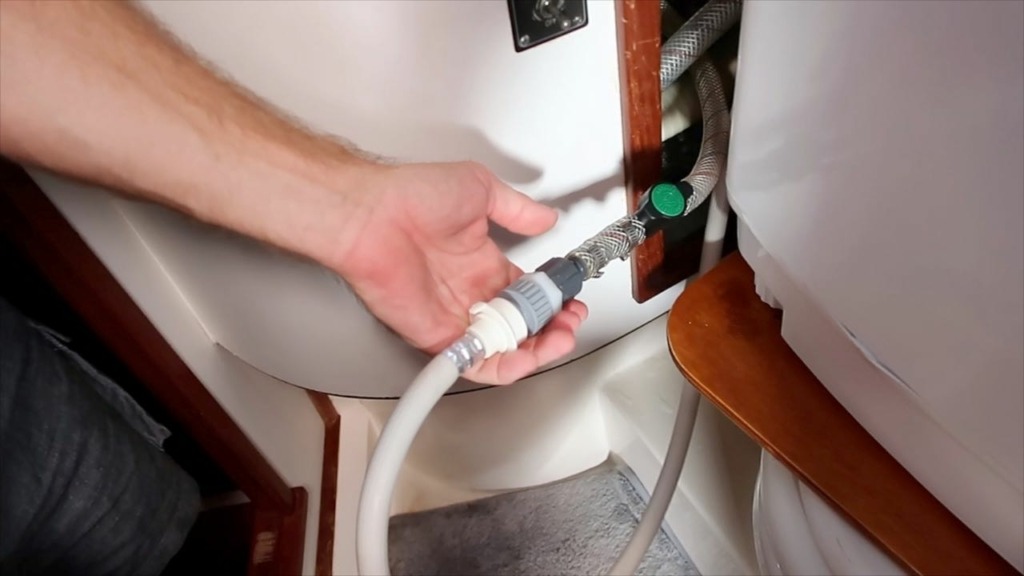
High-Pressure Hose
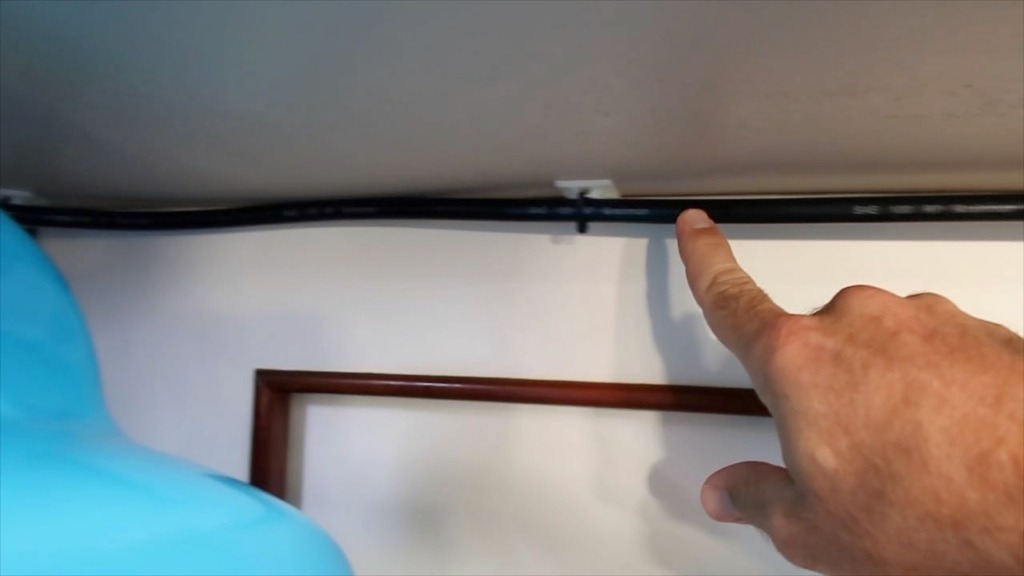
The High-Pressure hose uses the existing native connection to the pressure unit. Mounting bases and zip ties were used to keep the hose neat and organized. Extra unused hosed is coiled and stored in the membrane case.
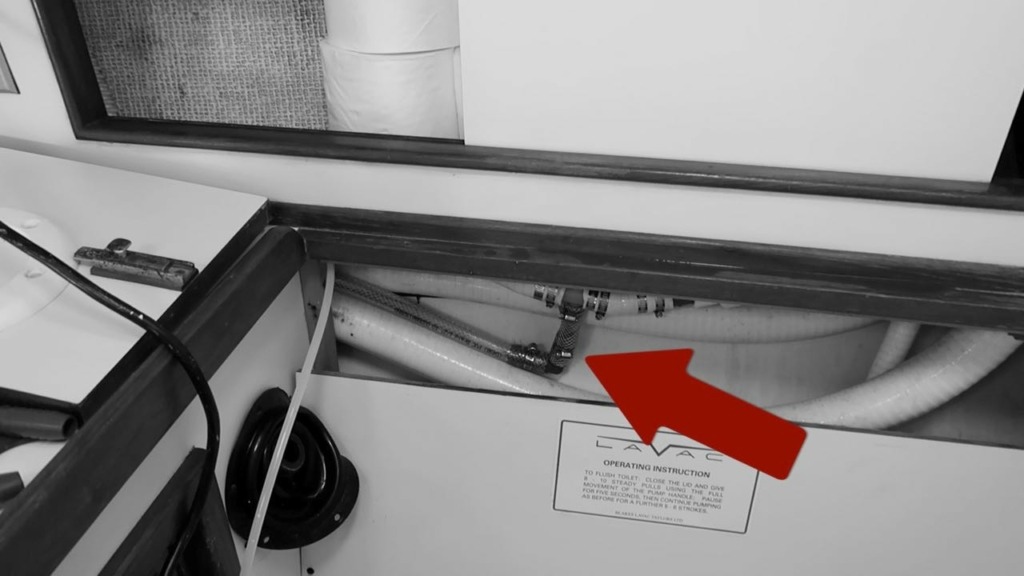
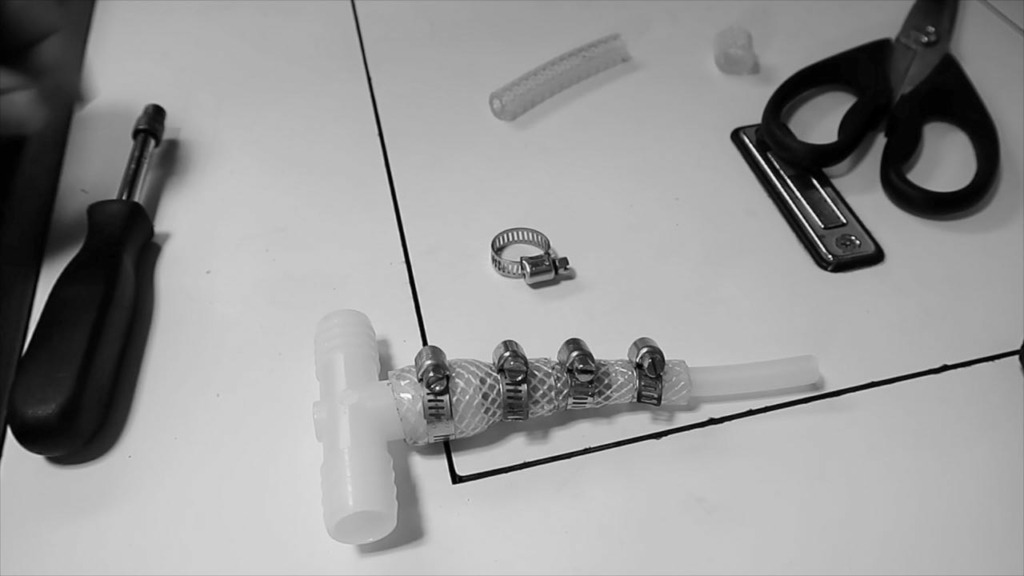
Brine Discharge
The brine hose exits the case through the feed hole I drilled. It connects to the Rainman supplied check valve before running behind the panel. I had to build a custom reducer to tie into the 3/4″ drain T fitting.
To make the reducer, I heated the plastic hose to make one end fit over a larger fitting. For example, 1/2″ ID can stretch over a 3/4″ fitting. The fitting used are as follows: 3/4″ T to 1/2″ ID hose to 1/2″ coupler to 1/4″ ID hose to 3/8″ OD Nylon Hose
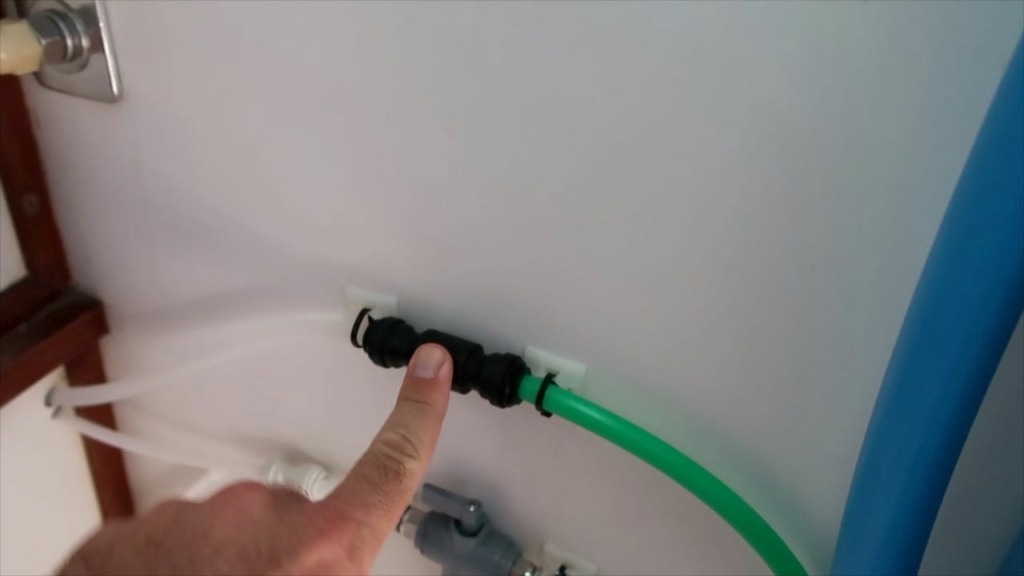
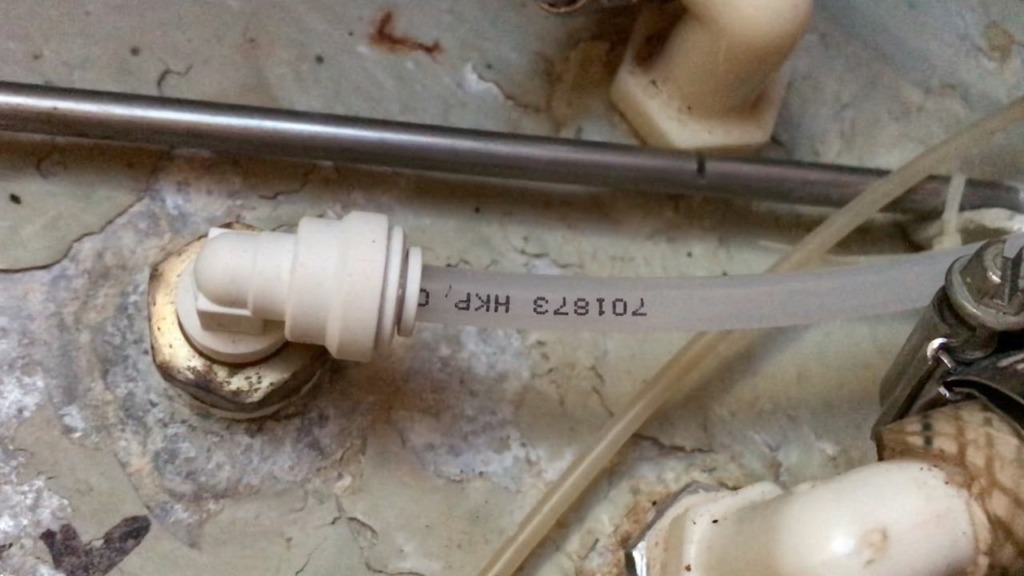
Product Water
The product line exits the case through the feed hole I drilled. It connects to the Rainman supplied Y valve. Off the Y valve, one hose is open for testing. The other hose is reduced from 5/16” to 1/4” hose. I had to do this because I could not find 5/16″ OD parts available in Puerto Rico. The hose then goes behind the panel and into the forward freshwater holding tank.
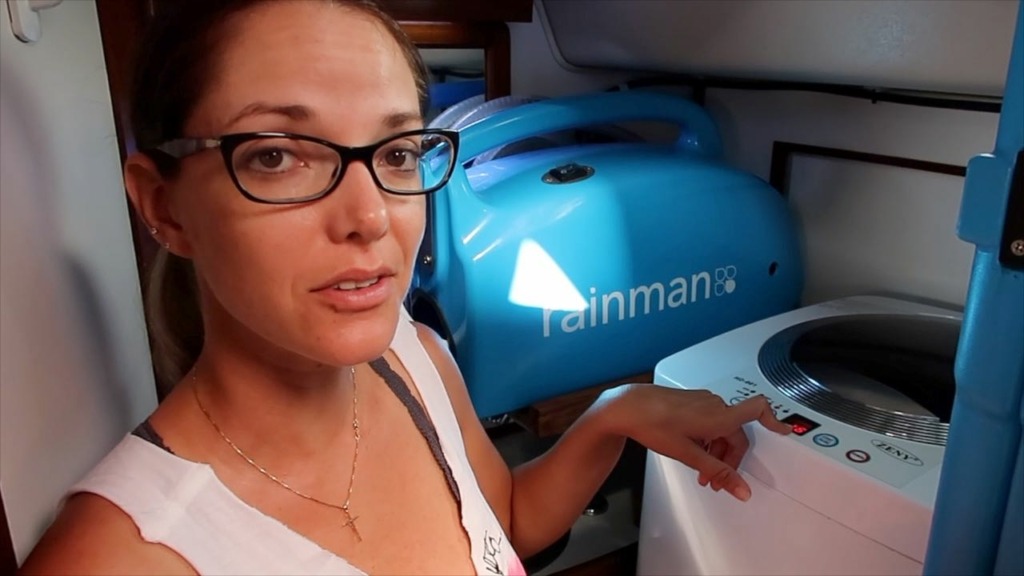
Washing Machine
The washing machine sits on top of the existing Lavac toilet. I cut a piece of rubber to match the toilet lid. The rubber pad protects the toilet and prevents it from slipping. On top of the rubber pad is a finished 2’x2′ board platform. The board is unsecured but stays in place once the washing machine is strapped in and secured.
Because the doors to the bathroom are pretty narrow, we had a hard time finding an automatic washing machine that would fit through the doorway. Luckily, the one we chase has worked great!
Here is the washing machine we chose, available on Amazon. ZENY Washing Machine – https://amzn.to/32lkicy
Supply Line
The supply line tee’s into the cold water supply for facet
Drain Hose
The drain hose tee’s into the sink drain hose, along with the forward bilge pump and watermaker brine discharge hose.
Electrical Plug
The washing machine plugs into the existing 115V receptacle
Watermaker Operation Steps
Start-up
- Start generator
- Start pressure unit
- Increase pressure on the membrane to green zone on the dial
- Test water with TDS via test hose
- Switch Y valve to divert product water into the holding tank
Shut Down (Basic – good for 2-3 days without use)
- Decrease pressure to 0
- Shut off pressure unit
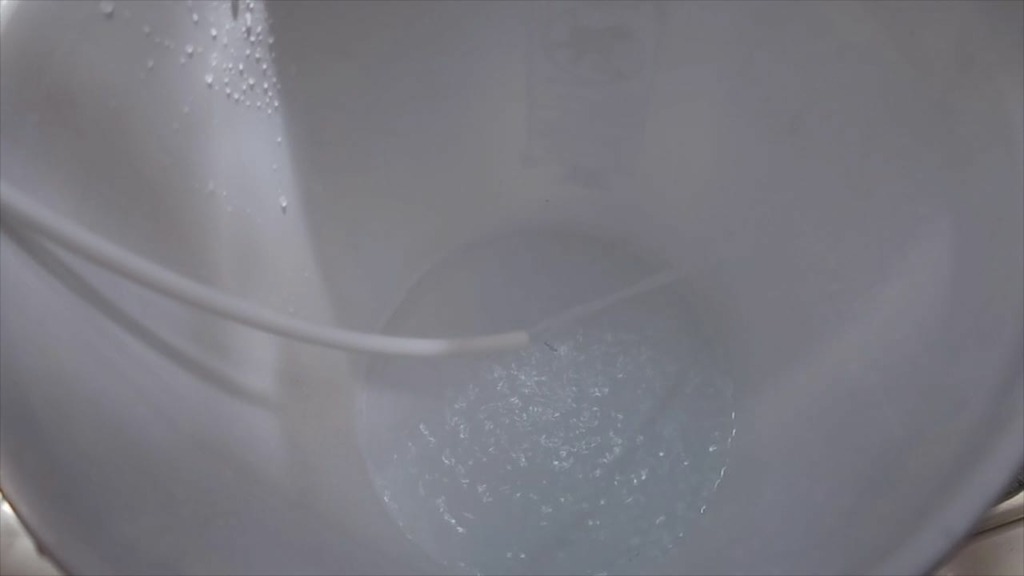
Shut Down (Freshwater Rinse – good for seven days without use)
- Turn product water Y valve to direct water into a 3-5 gallon bucket, fill the bucket
- Turn product water Y valve to divert water into the holding tank
- Decrease pressure to 0
- Place rinse hose in the bucket
- Open rinse valve/close seawater valve
- Run 3-5 gals through the unit
- Shut unit off pressure unit
Shut Down (Pickling – good for three months without use)
Pickling the watermaker is the same process as the freshwater flush, except that the pickling solution should be added to the bucket before it gets flushed through the watermaker.
Washing Machine Operation
- Three load sizes (medium is 1/3 size of a regular load)
- Various wash programs
- We discovered that the Wash/Rinse cycle rinses twice and too much water
- We do Wash cycle with detergent, manual spin. The other “Wash” without detergent as a rinse, then another manual spin. Hang to dry.
- Dry time with sun and a gentle breeze is about 1 hour.

Materials Used In This Install
Rainman Water Maker
SATORI Rainman Special: Buy any Rainman System, Get $100 worth of extras (TDS Meter, five spare filters, T-shirt, Thank You letter from Sailing Satori). Use Promo Code SATORI at Checkout OR use this link: http://bit.ly/satori-rainman-deal
ZENY Washing Machine
Available on Amazon – https://amzn.to/32lkicy


[…] Home/Stocking Up and Shipping Out, Beautiful Spinnaker Sailing – S2:E28 Previous […]
[…] Up and Shipping Out, Beautiful Spinnaker Sailing – S2:E28 Previous […]
Hello there, I’ve been looking for a portable laundry solution. Do you still like you Zeny? Thanks!